
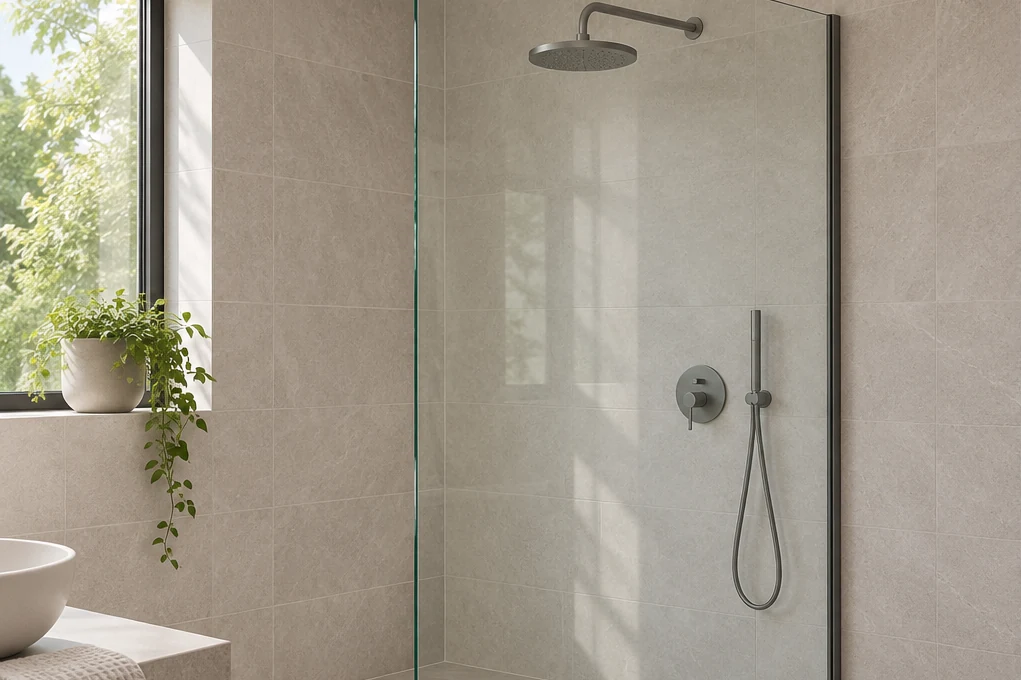
When choosing an aluminium shower enclosure profile, check the glass thickness, the profile cross-section and the gasket reference together. A channel that holds a fixed panel and a seal that redirects water at a moving door perform different jobs. Both may be visible at a glass edge, but their dimensions cannot be used interchangeably. Start by identifying the enclosure model and finding its technical drawing. Then match the parts you have to the references on that drawing. The same approach helps with a new specification or a replacement seal.
İçerik Başlıkları
Record glass thickness and clearance separately
Glass thickness is the distance between the flat faces of the pane. The gap beneath the door is the distance between its lower edge and the threshold or finished floor below it. Along a vertical edge, the distance from the glass to the wall or adjacent panel is another dimension. A seal may grip one specified glass thickness while being designed to cover a different gap. Check which dimension each number describes before entering it in your notes.
For a new enclosure, confirm thickness against the glass order drawing and the hardware documentation. If an existing enclosure has no documentation, ask the installer how to take the measurement at an accessible, undamaged edge. Fixed panels and moving doors may use different thicknesses. Identify each piece separately. Glass type, edge finish, panel size and support conditions also matter. Follow the enclosure and hardware manufacturers’ instructions for safety glazing and installation.
Which dimensions matter in the profile cross-section?
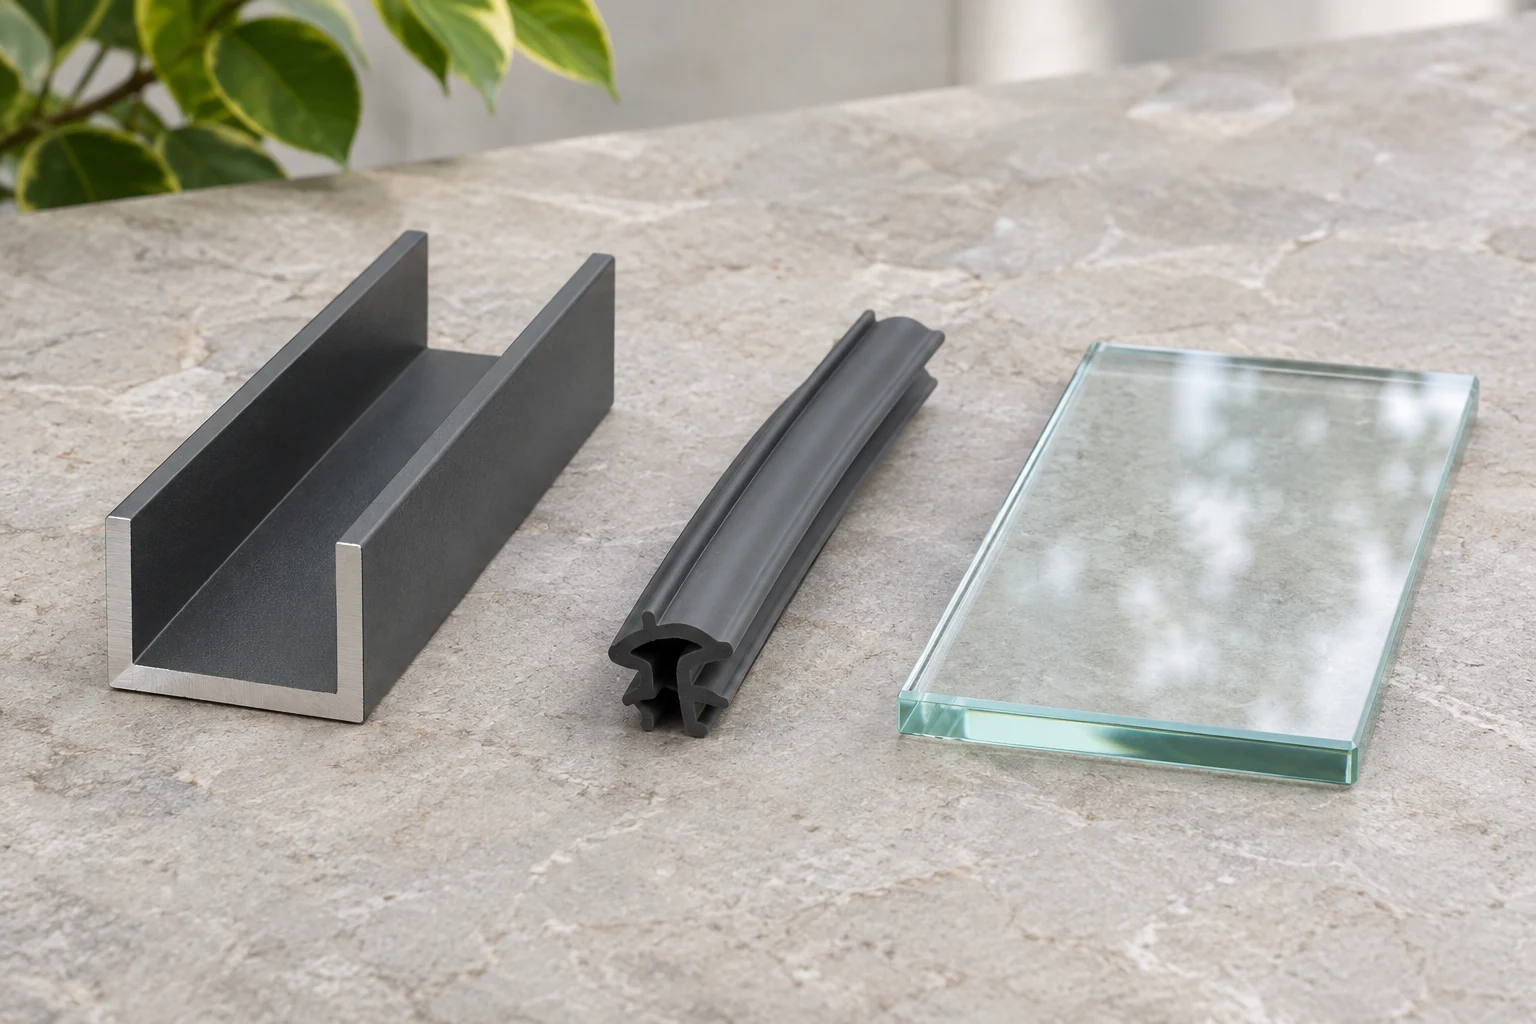
In a cross-section of an aluminium profile, distinguish the outside width from the internal width and depth of the glazing channel. Profiles that look alike from the outside can have different internal geometry. Some systems have a dedicated groove for the gasket. Others seat the glass with a particular gasket or another component specified by the manufacturer. If the drawing lists only the dimensions of the extrusion, confirm the permitted glass thickness and gasket reference in the system documentation.
Subtracting the glass thickness from the channel width does not give you a gasket specification. The gasket’s lip, the portion that engages the groove and its installed shape all need to be considered together. Two seals can look similar even though only one is meant to stay seated in that channel. When the model and revision are available, compare the references of the original and replacement parts against the same revision of the drawing.
Distinguish a glazing gasket from a door seal
A glazing gasket fits between the fixed panel and its profile at the location specified by the system. A bottom sweep or vertical edge seal has to accommodate the door’s movement and the distance to the adjoining surface. With magnetic seals, the angle at which the two strips meet and the closing direction also matter. First record where the part sits, such as the fixed panel, door bottom, hinge side or closing edge. Then compare the gap and the existing seal’s shape as well as the glass thickness.
For a replacement bottom seal, identify the surface the sweep approaches when the door is closed and throughout its swing. If the clearance varies along the lower edge, record the variation separately. Choosing a longer sealing fin to make up for a missing measurement can cause the door to rub or stop short of closing. Check the permitted gap and cut length in the drawing or fitting instructions for that seal.
Check a sample and record the result
Before fabrication or installation, put the model, profile reference, gasket reference, glass thickness and any relevant clearance in one record. During a representative check by the installer, verify that the pane sits as shown in the drawing, the gasket stays seated without twisting along its length and the door moves as intended. If something does not fit on site, return to the system’s parts list before trying to force the pane into the channel or filling the gap with an unspecified seal.
At handover, the door can be opened and closed several times to check whether the bottom seal catches on the threshold and whether the vertical seals line up. Follow the manufacturer’s procedure if it specifies a water check. Keep the relevant care instructions and the replacement gasket reference with the other records. If several seals in one enclosure look alike, that record makes it easier to identify the right location and part before anything is removed.
When preparing the parts list, record the colour and finish on a separate line from the measurements. A black or polished finish does not identify the profile section or gasket geometry. If the project includes two different enclosures, identify each record by its enclosure number. This helps keep similar-looking replacement parts separate and makes it easier to compare them against the correct drawing.
Mark the visible face and the viewing direction for whoever will use the measurements later. With left- or right-opening models, an arrow on the drawing can help show which side a part works on. Pair an on-site photograph with the part reference to preserve position and orientation details that might be missed in a cross-section photograph alone. If a replacement is needed later, the record can be checked against the system drawing without repeating the entire survey.


